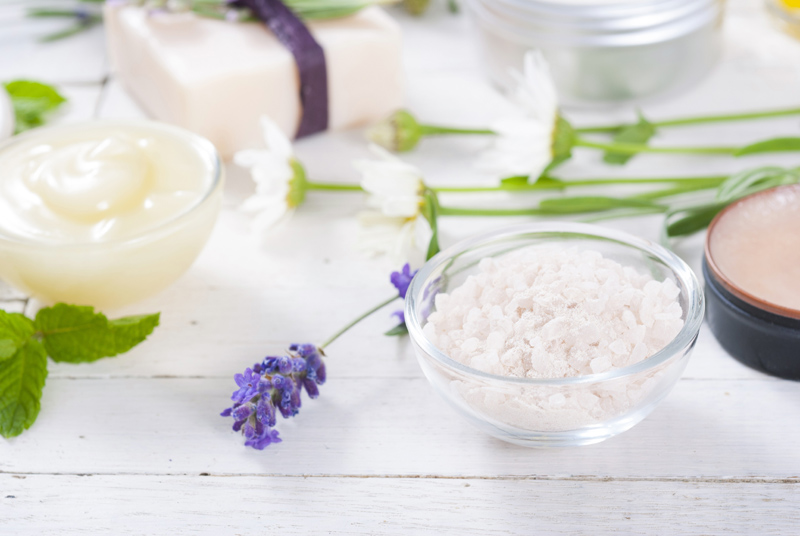
Self-care always feels good. Especially when combined with making your own signature skincare staple. You will fall madly in love with how smooth and soft a homemade salt scrub can make your skin feel!
At Penn Herb, we chat a lot about our self-care routines, both inside and out. Nothing gives us more pleasure than when we find a real gem of an idea and share it with as many as we can! We believe healthy living needs to involve taking time out to nourish our bodies. Just think about it…when was the last time you bought out time to pamper yourself? Rarely do we have someone taking care it for us, so who else but BEAUTIFUL you to do it? True, there are things in life that are out of your control, but one thing you should never lose control over is how well you take care of yourself!
If you want a trick to balance out your internal attitude, start with taking care of the outside. And of course I’m talking about the first thing people see…our skin. What you do doesn’t have to be complicated or take a long time. Get a spa-like treatment at home by making your own inexpensive homemade salt scrub. Just 4 ingredients and 5 minutes and you’ve got yourself a jar. And if you can part with it, they even make great gifts!
The Basics
- Salt Type. What type of salt should you use? I recommend fine to course sea salt. This isn’t the place for regular table salt. Remember, this is the exfoliating part of the scrub to wash away that dry winter skin and dead skin cells. And I find any coarser salt way too abrasive. But if you have very sensitive skin, you can substitute sugar, which is way more gentle on the skin.
- Carrier Oil. The carrier oil is the base that will keep the salt scrub together. The added bonus is that it’s the stuff that moisturizes your skin. Medium or thin oils wash away much easier, and also prevents slips in the shower. Try grape seed, jojoba, or sweet almond oil for mild aromas. Olive oil is probably already in your pantry and adds a little more aroma. The thickest oil we recommend is coconut oil, which packs a strong, sweet smell.
- Essential Oils. These are optional, but who doesn’t want to customize their scrub with a signature fragrance! Pick ones that you like, or fit the season you’re in. Just be sure they are suitable for use on your skin, and don’t go overboard with the drops.
Put It All Together
It’s as easy as combining all the simple ingredients in a bowl, and finding a glass jar with an airtight lid to store your scrub. Measure out the salt first, followed by the carrier oil. Stir the mixture. Finally, add some drops of essential oils or dried herbs until you achieve the aroma and strength you like. Stir the mixture well one more time, and transfer to the jar. Wasn’t that simple? And because salt is a preservative, the scrub could last anywhere from one to two years.
DIY Rose & Lavender Salt Scrub

We couldn’t let you go without a personal favorite of the staff, put together by yours truly. This homemade scrub uses crushed rose petals for that extra floral aroma and a natural rustic look.
- 1 Cup Coarse Sea Salt
- 1/2 Cup Sweet Almond Oil
- 5 drops Rose Essential Oil
- 7 drops Lavender Flower Essential Oil
- 1 Tsp Crushed Dried Rose Petals
If this is too good to keep to yourself, we suggest having friends over and hosting a salt scrub making party of your own! Or just share your favorite essential oil blends in the comments below. Go forth, scrub, and conquer!


Love it! Thanks for such a great DIY project that I can gift to everyone!