
I don’t know about where you live, but here in Philadelphia the month of March always seems like a tease. We start out with a few 68 degree days, followed by a snow storm or an icy mix. It’s just inevitable for March. It is definitely our “I wish it was Spring already” season. However, on those few 68 degree sunny days it reminds me…I better start preparing for my garden!
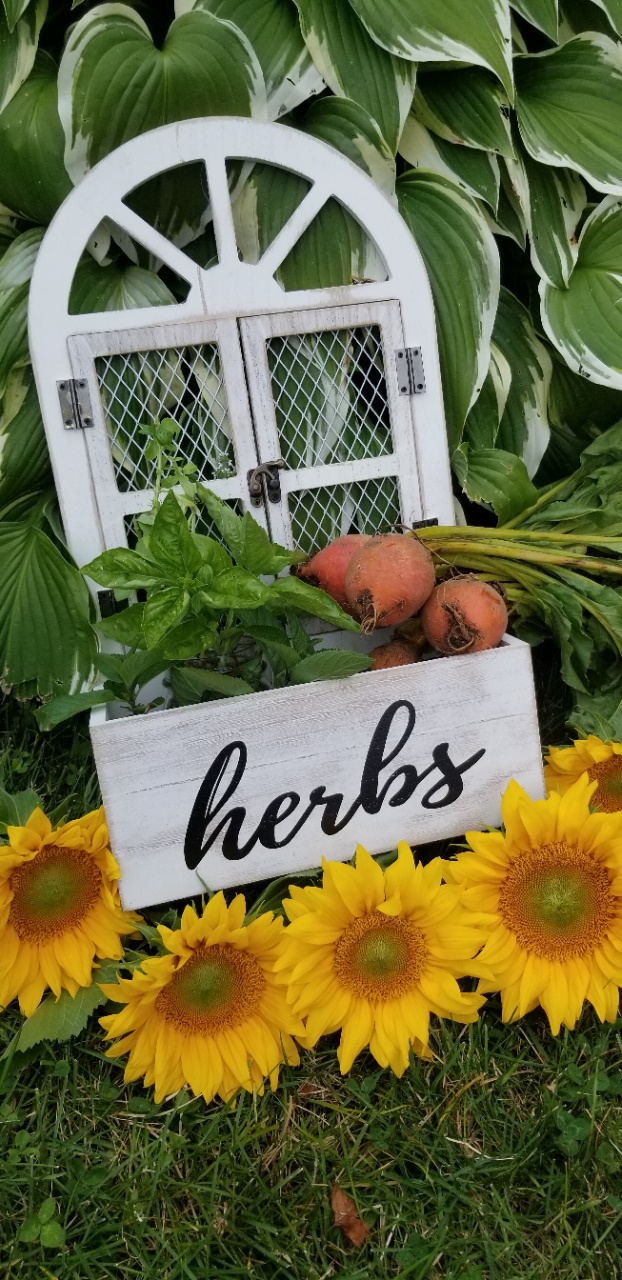
In the middle of Summer (or late Spring) there is nothing quite like picking your own homegrown cucumber for a Caprese salad or grabbing a handful of mint for a fresh mojito. In order to make that dream become a reality, however, you have to plan ahead. Start some seeds now! Motivation on those sunny warm March days will come, making you crave the warmer season, fresh produce, and colorful homegrown herbs ahead.
Start With The Best Seeds
A few years ago, I came across the Hudson Valley Seed Company at the Philadelphia Flower Show. Not only did they have some beautiful, colorful seed packets that would make a great gift, they also had many organic and heirloom varieties that I never saw before. Since then, they have become one of my favorite brands to grow. Year after year, they actually do just that – GROW. My thumb isn’t the greenest, so I am totally excited when I see my seed babies growing, and honestly, these have worked well for me the last few years.
I have found some plants do really well when first started indoors, and can save you a ton of money, making growing veggies and herbs at home very cost-effective. Not to mention, we are still in a pandemic, so who isn’t interested in having a new hobby at home while yet benefitting the family budget. Tomatoes, peppers, cucumbers, mint, and zucchini have all done really well (for me at least) when started inside first, rather than directly sowing them. Below are a few key points for starting some summertime favorites indoors.
How To Prepare The Soil
SOIL: I prefer to start my seeds in a wet paper towel prior to placing them in some organic seed starting mix. In about 5 days, the seeds start to germinate, and at this point, transferring them into the soil is imperative. Using a good quality soil mix is key to a successful start for your planting season. I prefer to use an organic seed starter. This allows for the seedlings to start off with a nutrient-rich and healthy environment where their little roots can thrive.

DIY Seed Containers
There are endless options for vessels to hold your seedlings. However, making simple newspaper pots or reusing egg cartons has been my favorite way to watch my seedlings grow. First of all, it’s free to recycle newspaper and egg cartons. Second, it makes a fun craft for the kids, and third, it’s healthier for the environment.
For the newspaper pots, I cut a 6 inch wide by 18-inch long strip of newspaper and wrap it around a can of unopened tomato paste. Then, all you have to do is fold in the one end and it creates a great simple pot that is ready to be filled with soil. I have found the tomato paste size can to be perfect for seed starting. It lasts the longest and is effective enough to grow a great plant inside, prior to being transplanted outside.


Egg cartons also have worked well, but keep in mind you may have to transplant your seedlings one time prior to sending them to the outside world, as there is not much soil, and depending on the seedling, it may become overcrowded in such a small vessel. Of course, there are many other options that can be purchased such as peat pots, seedling trays, or even small terrariums, but sometimes keeping it simple and reusing things you already have is more creative and cost-effective. #artsandcrafts

Do’s and Dont’s for Water & Light
MOISTURE: Go easy with the water. It’s great to keep your plant babies moist, but using too much water (like when the soil becomes gloppy or muddy) will kill your new seedlings. Just water them enough to keep the soil damp, but not saturated. One year, I lost over 24 tomato plants because of overwatering, they seemed to have grown a fuzzy white layer on the top of the soil. Thank goodness I had a compost pile they ended up in peacefully.
LIGHT: I don’t know about your home, but my house gets a ton of sun. So, for the most part, I have done great with little or no extra light needed for growing indoors. I have a seedling nursery set up in front of a window which gets about 10 hours of light a day. However, for most situations, the experts recommend that you will need extra light. There are TONS of options when it comes to grow lights. You can find reasonably priced lights online or at your local hardware store. You’ll want to keep it on for a minimum of 12-14 hours every day, and of course, keeping your seedlings in front of a window for some added natural light is a great idea.
And Now We Plant…
Preparing for the real world. Once you have established gorgeous plant babies inside, it is time to get them ready for the real world outside. Spoiled inside seedlings will need to be acclimated to the outside world gradually so that you do not shock them. This can be done over a period of a week, exposing them to the outside elements such as wind, rain, and variable sunshine. Doing this over a 7-day period, a few hours a day, will harden them to the outside elements and make them ready for planting.

Once the warmer weather is in full swing this Summer you will be happy and grateful you prepared ahead for a natural herbal and vegetable garden. The recipes will be endless and the meals delicious. Enjoy and have fun!

Thanks Lisa! Great information and suggestions!